 Whether you call it a climbing peg
board or a climbing pegboard, this handy little workout device is a
great way to increase forearm strength and grip strength; it's a
perfect workout for rock climbers. This is something that a lot of
gyms don't have anymore, which I think is a real shame. Sometimes you
just can't beat the simplicity of less modern workout equipment.
If you want to learn how to make your
own climbing peg board, you're in the right place. This is what we'll
be making:
My main challenge was securing it to
the tree without using screws or nails (I rent), which I solved by
using two bracket 2x4s secured in place by a length of rope wrapped
multiple times over both the tops and bottoms of the boards. To these
I nailed the main pegboard.
Climbing Pegboard Materials
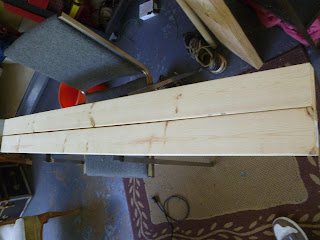
-Two 5' lengths of 2x4
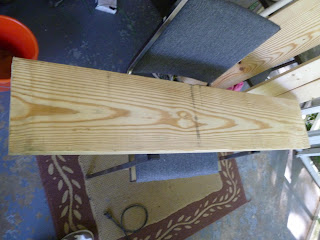
-One 4' length of 2x10
-100' of 1/4” twisted sisal rope
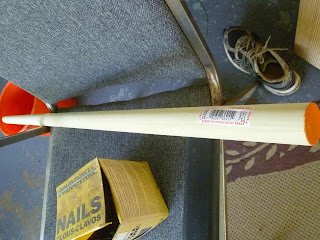
-1 ¼'' dowel rod
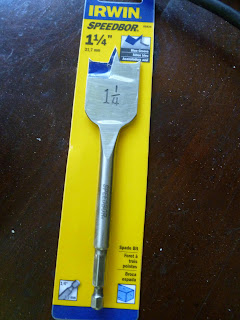
-1 ¼'' drill bit
-28 nails
-Power drill
-Saw
-Measuring tape
The drill, saw, nails, and measuring
tape I already had, bringing the grand total to $29.05 at checkout.
For the 2x10 I had to buy an 8' length, so if you'll really end up
with two lengths of 4'. This is handy if you mess up or want to make
a second climbing pegboard.
Homemade Climbing Pegboard Instructions
Step 1
The 2x10 board is going to be the main
pegboard (where the holes go). Start by measuring 1 ¾'' in from each
long side. Mark this with a line that goes the whole length of the
board, one on each side. This will be the drill line for the peg
holes, putting the outer edge of each hole about 1'' from the edge of
the board.
Step 2
Starting on one line, measure 3'' up
from the bottom and use a pen to mark that spot on the line. Now use
your tape measure to mark off 8'' intervals all the way up to the top
of the board. On the other line, measure up 7'', put a dot, then mark
off 8'' intervals the rest of the way up.
Step 3
Use the 1 ¼'' drill bit to drill holes
at each of the dots. Run the drill up and down a few times to make
sure the sides of the holes are smooth. Make sure the dowel rod will
slide smoothly into the holes as well. You might want to drill smaller pilot holes first so the large bit doesn't slip.
Step 4
At this point you might deviate from
these instructions a bit depending on what your setup is like. I
didn't want to drill too many holes into the trees in my yard, and I
didn't have a good wall to mount the climbing peg board on. If you
have a straight wall you can screw in some mounting brackets and save
yourself a lot of time. If not...
Find a good straight tree. Take your
2x4s and figure out how high you want to mount the climbing peg
board. When you mount them, the 2x4s will be flush with the tree
trunk, but at a slight angle to each other to account for the curving
trunk. (diagram below)
Step 5
For one 2x4 at a time, hammer a nail
about halfway into the tree at both the base and the top of the 2x4.
These will serve to hold the boards in place while you fasten them
with rope. You can remove them later.
Step 6
Take the twisted sisal rope (you can
use any kind that won't stretch) and begin wrapping it around the
bottom 6'' of the 2x4s on the tree. Wrap this sucker tight at least
10 or 15 times; this is what's going to hold the weight so you want
to make sure it's secure.
Tie it off and do the same thing for
the tops of the boards. Keep all the loops at least within 6'' of the
ends of the 2x4s. The peg board is a foot shorter than the 2x4s, so
you have 6'' of playing room on each side.
Step 7
With the 2x4s secure, hold the peg
board up to see where they touch the board. If the boards were
mounted straight, you can draw a line on the pegboard to mark where
it meets in the back. Now use a drill bit that's just slightly
narrower than the nails and drill pilot holes along that line. Make 2
pilot holes in between each peg hole. (do this on both sides)
Step 8
Line up the peg board with the 2x4
brackets and begin nailing it in. Test to make sure it's secure
before climbing on it!
Instructions for Making the Pegs
Take your length of 1 ¼'' dowel rod
and push one end through one of the holes in the pegboard. Figure out how much you
want for a good grip and then saw it off there. Measure off the same
length and saw off a second one. Mine were 7 ½'' but you can change
it up depending on your hand size.
And that's how you make a climbing peg
board! Video up soon!


2 comments:
Thanks for the article! It's been a long time since I have used a peg board but this sounds like an interesting project.
Question, do your pegs go all the way through or do they have a backstop? Or is this not really an issue while climbing? Basically wondering if they go all the way through and if this causes difficulty while climbing.
Thanks!
The way I have this one set up, the 2x4s on the back make an effective backstop. As to whether it matters, I've used pegboards with and without and didn't notice much difference. Some people prefer the backstop because I suppose it keeps the skin of their hands from getting pinched.
If you make this one exactly like I did, the pegs go about 4 inches through before stopping.
Hope that helps you out Matt. Thanks for reading
Post a Comment